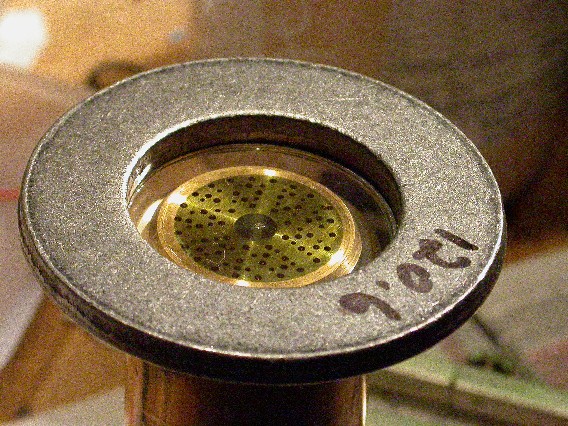
This is a photo of tensioning the diaphragm. This is just a photo shoot - the diaphragm in question was wrecked by careless application of glue. A glued diaphragm is attached by gluing the underside of the diaphragm to the capsule and it's easy for the glue to wick underneath the diaphragm and ruin the works. This diaphragm met that fate, but was recycled to show you how I tension the diaphragms. A mass of 120 grams is probably too high, as the low end of the frequency response is a bit messed up. Approximately 50 or 60 grams would be about right. Care must be taken while mounting the diaphragm to the mounting ring to ensure even tension distribution. I have found that usually the diaphragm ends up working well if this is done. The Neumann style capsule is tuned this way at the factory. I now use a capacitance meter and a battery pack to apply polarization voltage to the capsule. When the change in capacitance is correct, then the diaphragm is glued or clamped down.
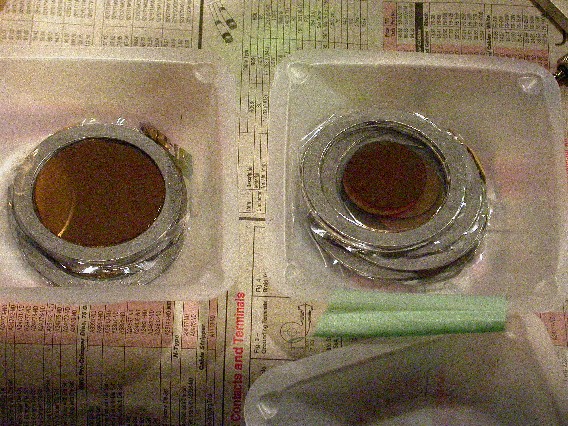
These are diaphragms with the gold coating deposited. The ones on the left are for edge-terminated capsules, the ones on the right are for centre-terminated capsules. Note the ones for edge-terminated capsules are fully coated, the ones for centre-terminated capsules only are partially coated. The photo above shows the coated and uncoated portions of the diaphragm. The light green colour is the gold coating - it is typically applied so thin that it turns green under bright light.